Share
Pin
Tweet
Send
Share
Send
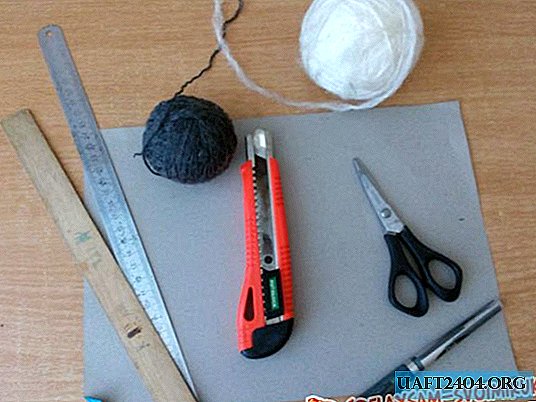
For this we need:
- Bucket.
- Scissors.
- The fabric is gray, brown and green.
- Threads in the color of the fabric.
- A needle.
- Foam rubber.
- Soap.
- Tape measure.
- Paper.
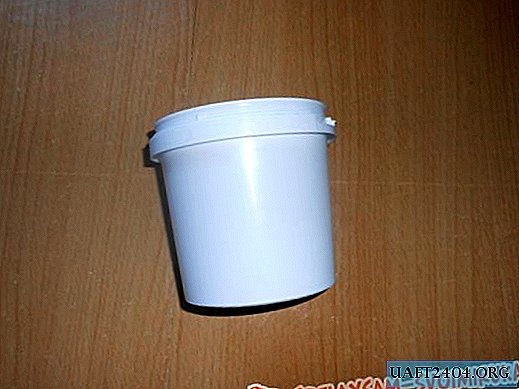
First, let's take a mushroom leg. Take a bucket, measure the required number of centimeters from the bottom up (I measured 8 cm), and cut off the rest. Just a bucket high and the mushroom will not look beautiful.

Now take a centimeter tape and measure the circumference and height of the bucket from the inside. From a gray fabric, we cut a strip according to these standards, taking into account allowances for seams. It will also be necessary to measure the circumference of the bottom of the bucket, also from the inside. It will be necessary to cut out a circle of the right size from the fabric.

Fold the strip in half with the front side inwards and sew along the edge.

It turns out a kind of sleeve. Now you need to sew the part in a round shape, so that you get a bag. Do not forget that the front side of the fabric should be inside.

Now we are doing the same thing, but we take measurements from the outside of the bucket and sew the same bag. Then we turn it out. As a result, we got two bags: one larger (face out), the second smaller (face in). We put a larger bag on the bucket, and insert the second bag inside.


Now you need to sew the blanks along the edge between themselves.

From the green fabric we cut a strip 32 cm long and as high as you like. From this strip we will make grass. Just cut out the triangles of different heights without cutting to the end of the fabric. As you already understood, the wider your strip, the higher the grass will be.

Let the grass on the bottom of the bucket, securing the thread. I did not start sewing the ends of the grass so that the grass would look natural.

The mushroom leg is ready. Now let's do the hat. For this we take foam rubber. Put a lid on the bucket on it, circle it. I added another 1-2 centimeters to the resulting circle and cut it out.

The upper edge of the circle is cut off at an angle, giving a rounded volume to the hat blank.

From brown fabric we will need to cut two round details. To do this, put a foam blank on the fabric, circle it with a piece of soap, add 1 centimeter to this circle and cut out the part, call it “A”. We will do the next part in exactly the same way, only we will add 5 centimeters. We cut it out too. This will be part B.

Now we put the detail "A" face side on the table, on top we put the foam rubber, convex side up. On it, put part "B" face out. Sew so that the seam is at the bottom. If desired, you can between the part "A" and the foam, put the lid on the bucket for stiffness.

The mushroom cap is almost ready. Now we take paper and draw a leaf on it. Cut out. It will be a pattern.

We put the pattern on a green fabric and cut out a leaf. Only I cut without a wand.

Sew it to the hat.

I embroidered the wand with the usual wide stitch, brown thread.

Now you need to sew a hat from the inside to the leg. I showed the place of the seam in the photo.

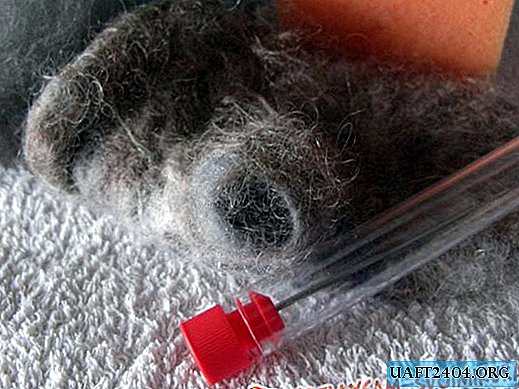
The needle bar is ready. Inside the fungus, you can store threads, buttons or other little things for sewing, and you can always stick needles into the hat.


This mushroom can be used as a needle bed, or it can be used simply as a casket for small things.
Share
Pin
Tweet
Send
Share
Send