Share
Pin
Tweet
Send
Share
Send

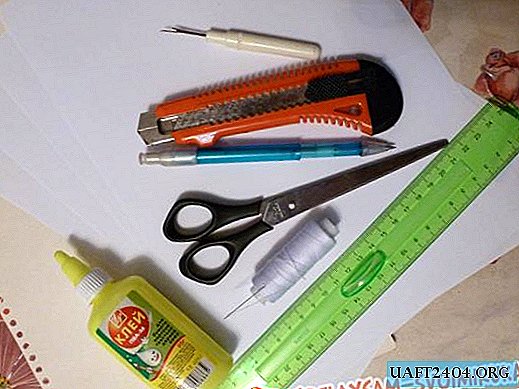
Materials for the master class:
- eggshells, from raw eggs;
- acrylic paints and brush;
- a sheet of cardboard;
- PVA glue;
- a toothpick;
- Acrylic primer, self-leveling contour, single-phase craquelure varnish, acrylic varnish, if possible.
1. A sheet of cardboard is primed using a special acrylic primer, and in its absence - white acrylic paint.

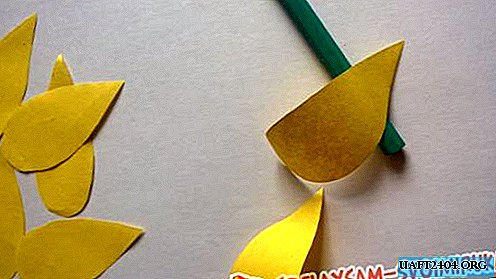
2. We draw the initial sketch of the umbrella, for this with the help of a pencil we make the main sketches.

3. In more detail we draw a hat of an umbrella, dividing it into six parts.

4. Use the eraser tool to remove extra strokes, draw the handle of the umbrella.

5. We draw a bezel on the hat of the umbrella, if the sketch is smooth and beautiful, you can draw a contour by clicking on the pencil.

6. Using a special contour or black paint we draw the main borders of our sketch.

7. Using red paint, we begin to paint the first segment of the umbrella.

8. Then, using the colors of orange, yellow, green, blue and violet colors, paint the remaining segments of our umbrella.

9. Wash raw eggshells, remove the white membrane.

10. Acrylic paints paint the shell in the same colors as the segments of the umbrella.

11. After drying the paint on the eggshell, crushing it into small pieces.

12. Using a toothpick, we begin to lay out the red eggshell on the red segment of the umbrella.

13. In the same order we lay out the shells of orange and yellow.

14. Finish laying out the colored mosaic on the umbrella, using the shell of green, blue and purple.

15. We crumble the black eggshell into small pieces and with the help of a toothpick we begin to spread around the perimeter of the umbrella on PVA glue.

16. Spread the umbrella handle more tightly with the help of an egg shell in black.

17. The next step is to draw the general background of our picture, while we will use single-phase crackelure varnish, and in its absence we will use blue paint.
18. We draw the background with silver paint, wait for it to dry.

19. If during the work you accidentally painted over the contour, you can remove unnecessary paint with a cotton swab.

20. Once the paint is completely dry, apply a layer of one-step craquelure varnish, put strokes horizontally on the surface.

21. As soon as the varnish begins to die, but at the same time remains sticky, put strokes vertically with blue paint vertically relative to the surface.

22. The edges of the umbrella are decorated with rhinestones, imitating raindrops.

23. If desired, for durability, work on top with acrylic varnish.

Our mosaic is ready, now you can put it in a frame and enjoy the work done. We wish you success!


Share
Pin
Tweet
Send
Share
Send