Share
Pin
Tweet
Send
Share
Send
For the master class you need to take:
• Watercolor paper;
• Scrapbooking paper with roses, pink wedding paper, mother-of-pearl white cardboard with floral embossing;
• White mother-of-pearl heart from the cutting;
• Picture with rings;
• Pink carved butterfly;
• White translucent cotton lace;
• White ribbon with small pompons;
• Pink satin ribbon with ruffles;
• White satin ribbon with white hearts 10 mm wide;
• White raffia;
• Lace frame made of polymer clay;
• Peach organza ribbon;
• Latex callas are white and pink;
• Rosette pink and white from latex;
• Stamens on a twig are white and light pink;
• The middle of the flower is white with a pebble;
• White fabric flowers;
• Marble faceted heart;
• Peach half beads;
• Stamp "Happy Wedding Day", pink ink;
• Two border hole punch;
• White swans from felling;
• PVA glue, double-sided adhesive tape, ruler, eraser, pencil, lighter, scissors, glue gun.

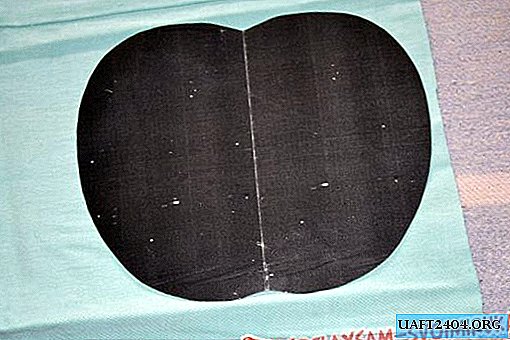
We take watercolor paper, cut out a rectangle of 18 * 28.5 cm from it, unfold it and divide it into three parts of 9.5 cm.


We make two bending lines with scissors. We make an incision on top of 2 cm on the side that is on the right and we make the top lace using one of the punch holes.


We wrap it up, this is how the pocket will look.


We cut out such parts from watercolors and scrapbook paper.


One large billet hole punch on the side, also make lace stripes.


We get these three parts for the decor of the postcard.


We assemble, glue and sew the front of the card. We make stamping "Happy Wedding Day".


Sew both the picture and the inscription with a typewriter. In the middle of the base, front and rear glue on a satin strip.


Glue with double-sided tape everything to the base.


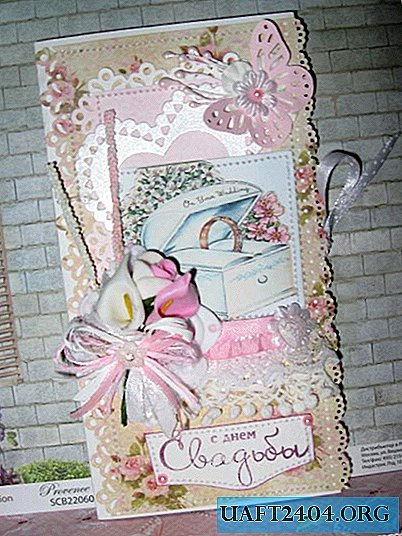
Sew here in this form on a typewriter. All that remains is to stick all the decorations.


It turned out such a tender postcard envelope for a wedding. Thank you all for your attention!


Share
Pin
Tweet
Send
Share
Send