Share
Pin
Tweet
Send
Share
Send
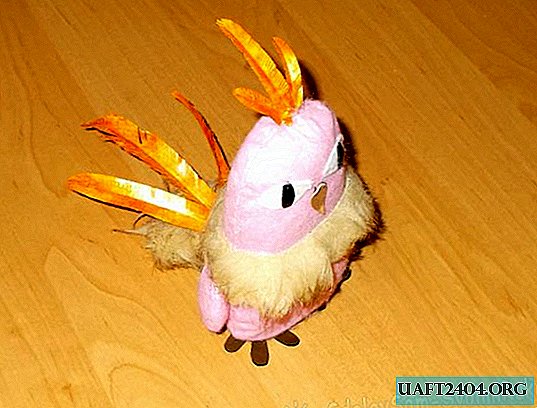
The manufacturing process took us a week. We got these two toys:

Getting started, we first make their paper samples:

We decided to start sewing by making a toy parrot. Taking a sample and cutting off its excess elements (wings, “fluff” on the neck, paws and feather on the head), we take the felt fabric and fold it in two. Then we pin a paper sample to this fabric and cut out a piece with an approximately 1 cm allowance:

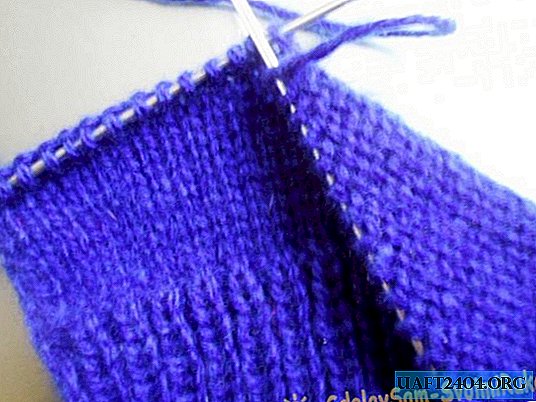
Next, we take the white threads and make seams along the edges of the figure, leaving sections of the allowance about 0.5 cm wide in order to increase the size of our craft. We leave a free area below in order to turn it out from the inside:

Now we turn the resulting workpiece from the inside out and fill it with cotton:

After the figure is filled with cotton, the non-crosslinked lower portion of the fabric must be sewn:

Now we take the fabric on the fur of light brown color and cut off from it a narrow long strip:

With this strip of fabric, we need to wrap the neck area of the future toy in a circle, and then, cutting off the excess part of the strip, sew the fur fabric at the ends at the back:

Next, we make eyes by making blanks for them from paper. From white and black fabrics, folding them in two, we cut out the samples and lay them out one to another, and then sew them:

The resulting eyes need to be sewn to the figure. From brown leather we cut two details of the beak:

These two details we need to glue and hem to the craft. But besides them, we must cut in pairs more details of the legs, tail and two parts of the wings:

We sew the resulting parts of the wings and tail along the edges, leaving small holes in order to turn them out from the wrong side:

After the details of the wings and tail are sewn and turned on the front side, the details of the wings can be filled with cotton. The tail can not be filled with cotton, and paws cut from leather can be glued in pairs (if desired):

Further, non-stitched sections in the details of the wings and tail need to be sewn:

After that, we need to sew the finished details of the paws, wings and tail to the craft:

After that, our toy will be almost ready. So she looks behind:

Next, we need to take a plain white paper and paint it with orange or gold lacquer on both sides, and then cut six shapes in the form of feathers of different lengths from it:
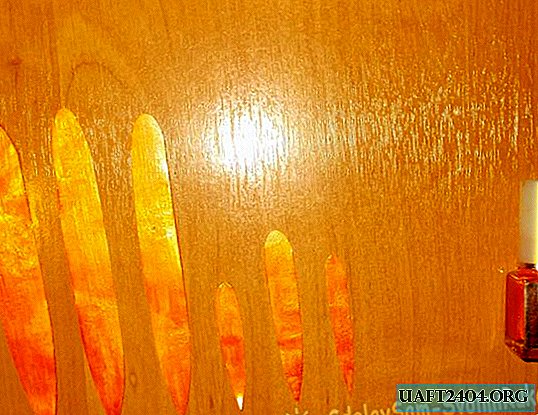
After that, we need to make a lot of cuts along the edges of each of the figures, folding these figures in half:

In order to make the finished figures of feathers stronger, it is advisable to paste them on the outside with transparent tape.
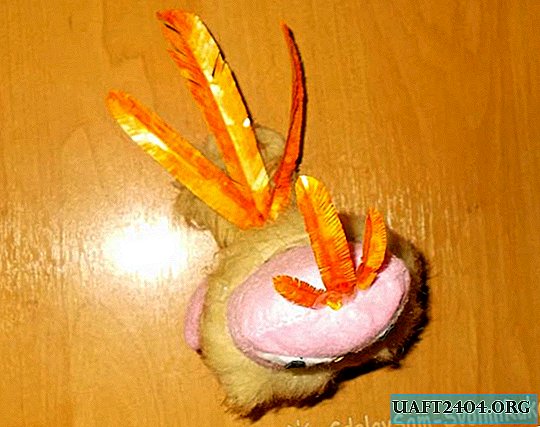
When all the feathers are ready, they will need to be sewn to the craft:
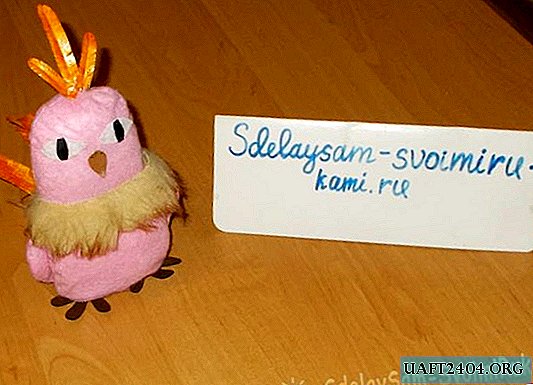
After that, everything, our first toy is ready:

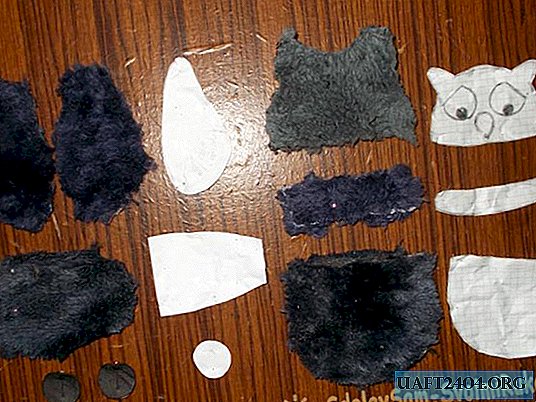
Next, we take up the manufacture of a toy owl. First, we cut out a sample of paper for it:

Then, dividing this sample into three parts (trunk, neck and head), we cut out three more samples from another sheet of paper (wings, paws and tail), and then we cut parts in pairs from the fabric using these samples:
Now we sew over the edges of each of the figures, leaving small areas of stock. We start sewing from the head of the craft:

We sew the head, neck, wings, paws and tail without problems, but the last thing we do is to sew the torso, because we need to sew the finished paws to it. We first pin them from below.

When stitching, you need to change the position of the paws of the body from top to bottom, - send them with the front sides inward and then stitch:

Next, the stitched details of the wings, head and neck with the trunk and tail, we need to turn out from the inside and on the front side of the head of the future toy to remove excess fur for convenience when sewing eyes:

We sew wings to the body, and then fill it with cotton:

Before filling the head of a future toy with cotton, we must sew a beak and eyes sewn from white, black and brown fabric to it:


After the head with the body is filled with cotton, they will need to be sewn. We sewed the wings and tail without filling them with cotton:

Now our second craft, the owl, is ready. So she looks from the back:

So it looks on the side:

So she looks in front:

Now both of our toys are ready and they can be put, for example, at the mirror as a decoration:

Sincerely, Vorobyov Dinara.
Share
Pin
Tweet
Send
Share
Send