Share
Pin
Tweet
Send
Share
Send
To work, you need to take:
- 5 square sheets of paper (4 red and 1 green) with a size of 10.5 x 10.5 cm;
- scissors;
- compass;
- glue;
- a toothpick.

We take 4 sheets of red color, put them together. After that, draw a circle with a compass.

Cut with scissors.

Then the resulting circles must be folded in half 2 times. For convenience, you can not fold all at once, but in 2 circles.

Now we make cuts (not completely) on the sides and in the middle of the resulting segment. This is required for the preparation of future petals.

Expand the circles and get 4 blanks with petals.

For further work, you need a toothpick, with which you need to turn down the edges of the petals. Photo 8.
So do on all 4 circles.

Now you need to cut out individual elements from the circles. On the first lap we simply cut to the center. On the second, cut out a segment consisting of one petal. On the third - of two petals. On the fourth - out of three.

Glue the resulting elements carefully along the edge and get 7 blanks for the future rose.

Getting to the flower assembly. To do this, put a little glue on the largest blank in the center and fix the element, which is slightly smaller than the previous one.

We continue to do so. As you approach the center of the rose, you may need to reduce the height of the elements, we do this with scissors.

It remains to make green leaves. We take a sheet of paper and fold it first into a square, and then another diagonally.

We cut out a semicircle, these will be blanks for future leaves.

Expand and see 4 leaves.

But we need to further refine them. To do this, again we fold each leaf in half, and then make it an "accordion".


We unfold and see the textured leaves.

We connect them together with glue.

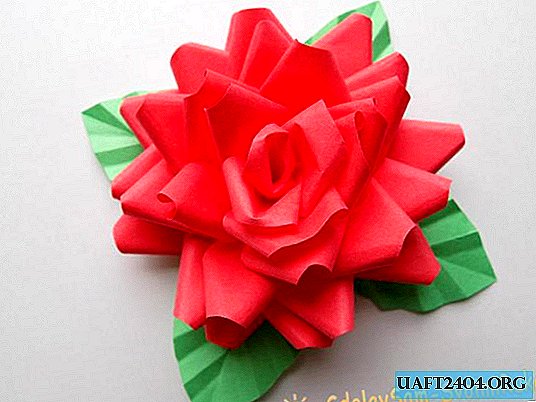
In the center we fix a red rose.


Share
Pin
Tweet
Send
Share
Send