Share
Pin
Tweet
Send
Share
Send
For its manufacture we take:
- Binding cardboard 1.5 mm thick 21 * 21 cm two sheets;
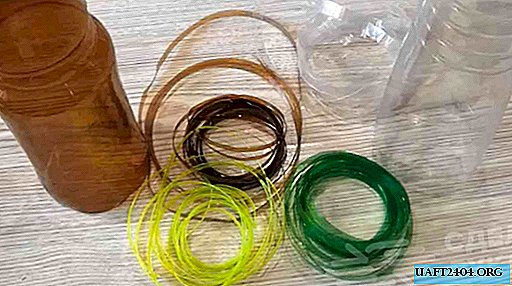
- Metal rings;
- Printed pages with elements and wedding inscriptions;
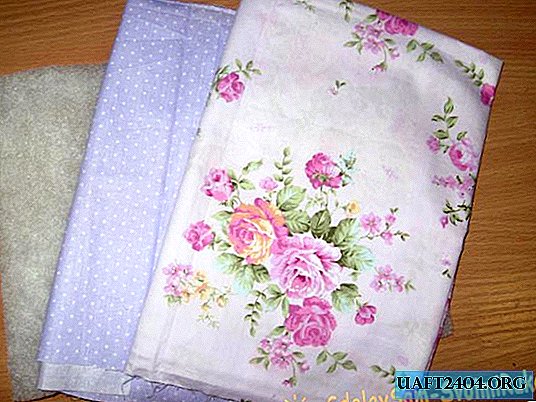
- Synthetic winterizer;
- Lilac fabric of two shades, we take good Korean cotton;
- Chipboard "Album" or "Our Wedding";
- Wide lilac lace embroidered and double cotton;
- Scrapbook paper in lilac tone three sheets 30 * 30 cm;
- Eyelets are lilac;
- Paper roses of white and white-lilac color;
- Eyelet installer;
- Satin lilac ribbon 25 mm wide;
- The semi-pearl is lilac;
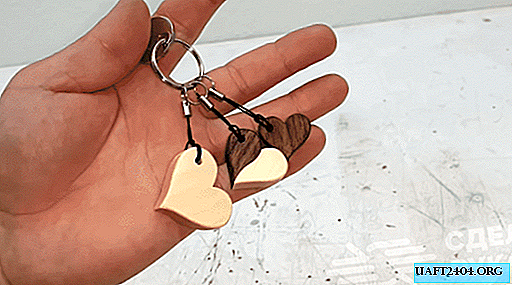
- Pendants metal swans and hearts;
- Brads are metal;
- Felling from pearl lilac cardboard: hearts, butterflies, flowers, glasses;
- Scissors, ruler, glue stick, simple pencil, lighter, Focus glue, double-sided tape.

We take square blanks from binding cardboard and glue strips of double-sided tape on them.


Now cut and glue the synthetic winterizer.


We will combine the fabric, so we cut a little less cuts into small peas, two cuts, and with a floral print we cut a little more than two cuts. Do not forget to make a reserve for stitching fabrics and for wrapping around.

Also, immediately cut two pieces of satin ribbon and two cuts of lace. Now we need to properly iron all the fabric cuts and the tape. We sew pieces of fabric in two, and at the joints we sew first one lace, and then the other.


Now we need to cover our binding with fabric. We smear the corners first, wrap and glue, and then completely cover the edges. In the center we glue strips of tapes from the inside onto double-sided tape.


Prepared the cover, it remains to flash it around the edges. From the scrapbook paper, we cut out two squares for the bookends 20.5 by 20.5 cm and a rectangle 11 * 13 cm.


We try on the decorations on the cover and sew them.


Now glue bookends from scrapbook paper into the covers.


Now put the grommets on both sides of the cover at the same distance.


Now we need to perforate the pages of the album and put them into rings.


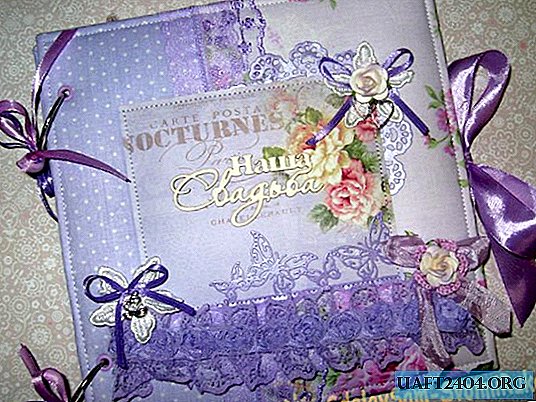
Now we glue the chipboard and decorate our cover. The album is ready, it came out gentle and romantic. Thank you for your attention and bye!


Share
Pin
Tweet
Send
Share
Send