Share
Pin
Tweet
Send
Share
Send
Model selection
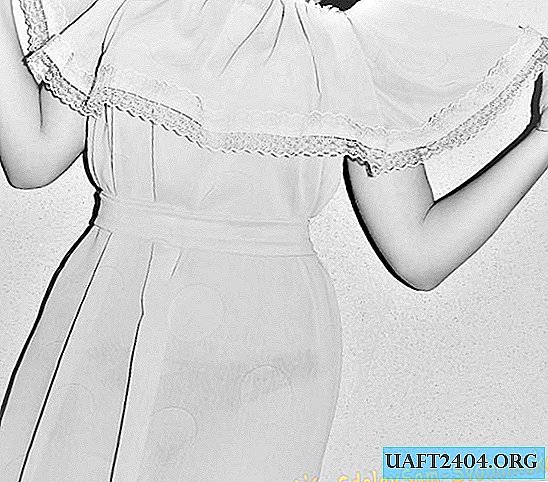
In the summer of 2017, loose, or dresses gathered at the waist with frills on their shoulders are especially popular with girls and women. There are several options for sewing such a dress:
- loose wide dress to the knees with shuttlecocks on two shoulders;
- a dress gathered with an elastic band at the waist (shuttlecocks on one or two shoulders;
- dress with a belt and frill on the shoulders.
Sewing each of the models may differ slightly, but the overall result will be the same, therefore we will consider the main nuances of cutting a dress with frills on both shoulders and a belt at the waist. To begin, choose the most appropriate pattern. The nesting pattern should look as shown.

The length and width of the dress and ruffles can be chosen independently, depending on the height and configuration.
Tools and materials
It is better to have a sewing machine at home, but you can also do without it. For sewing a summer dress with ruffles on the shoulders you need:
- 2 meters of light fabric (chiffon, silk, cotton cloth);
- scissors;
- ordinary thread for sewing;
- elastic bands;

- wide white elastic band - 25-30 centimeters (necessary for the manufacture of straps);
- wide-eye needle;
- chalk for cutting;
- pattern transferred to paper;
- centimeter;
- lace for a frill of frills and a hem of a dress (width is selected depending on color and the name of fabric).
The cost of the finished dress of the claimed model, bought in a store, is about 25-30 dollars, or even higher. Even if you do not have all the above materials and tools, you can save at least $ 15-17, so it is recommended that you pay special attention to the sequence of actions described below.
Step-by-step instruction
There is nothing easier than making a dress with shuttlecocks. The sewing process is as follows:
1. In any fabric store, a piece of fabric is purchased with a width of 1.5-2 meters and a similar length.
2. The purchased fabric is folded across and cut. One of the resulting rectangles will become the basis for the dress, and the other will serve for the manufacture of ruffles and belts.
3. The base of the dress is honed from all sides. This is done on a typewriter, or manually. The width of the bend is 1-2 centimeters.

4. The upper part of the rectangle processed in this way is stitched with a rubber band, resulting in beautiful folds.
5. The fabric is folded in half (the side sewn with an elastic band is the top of the dress), its lateral end is sewn. The result of the work is a rectangular bag without top and bottom.
6. The remaining piece of fabric is cut into 3 parts. The first 2 parts must have a width of at least 25 centimeters, the width of the remaining 3 parts depends on the amount of fabric (this is a belt, because it can be either wide or narrow).
7. Each section is processed, the edges are bent, after which the material intended for the manufacture of shuttlecocks is flashed with a rubber band along the length. In total, you need to flash at least 3 meters of fabric. The sides are stitched together, resulting in one wide assembly. To facilitate the task even before the moment of flashing the fabric with elastic, laces are sewn to its free edge. The color and size of the lace depends on personal preference. To grind the shuttlecock along the entire length will require at least 3 meters of lace.


8. After the shuttlecock is ready, we return to the main part (the very rectangle of the fabric that was postponed).
9. Straps are sewn to the upper part of the base. You can make them from the same fabric as the dress itself, or use a wide elastic band (2-3 cm in width and 12-15 cm in length) for this purpose.
10. The elastic is sewn to the top of the base with ordinary threads, resulting in a sundress.
11. An indent of 5-7 centimeters from each side is made from the line of contact between the fabric and the straps, after which the shuttle is put on the strap.
12. In the marked place the edges of the shuttlecock are sewn to the straps as shown.

13. The dress is ready, it remains to make a belt. To do this, you need to bend the remaining narrow strip of fabric in half, stitch, sew one end, twist. The resulting tape is used as a belt. The ends of the belt can be sewn, or sew them lace.
14. The hem of the dress is sewn, after which it is also possible to sew laces similar to those that were used to decorate the shuttlecock.
The finished dress is as follows:


Share
Pin
Tweet
Send
Share
Send

