Share
Pin
Tweet
Send
Share
Send
Will need
Components and tools:
- - small-sized computer speakers;
- - li-ion battery;
- - charge controller on TP4056 with protection;
- - wires;
- - soldering iron, drill.
Making speakers for a smartphone
The basis were taken computer speakers Defender SPK-165. I bought them at a local forum for 100 rubles. The sound was terrible to say the least. There were a pair of speakers per 1 watt of them and they installed and worked before this alteration.
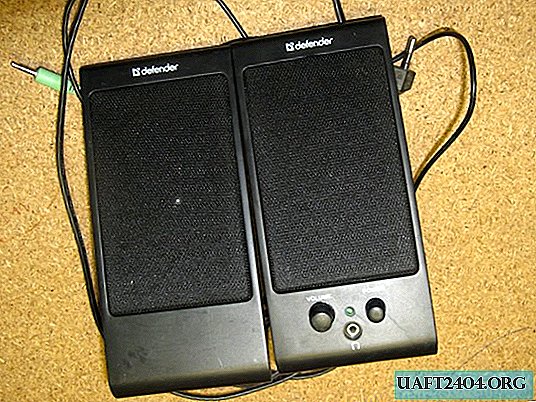
Having disassembled, we see the simplest configuration. Transformer and amplifier board with volume control and power off button. About the button there will be a separate discussion below.

We solder the network transformer and the power wire. Put it aside, they will no longer be useful to us.

Initially, I calculated the power from two Li-ion batteries of the 18650 format. But due to the fact that the speakers changed to one watt in the speakers (they were half a watt and very quiet), I had to use Lithium-polymer flat batteries. I have used them, but the total capacity is more than enough.

Our batteries will be charged using a charge controller from China. The controller is equipped with deep discharge protection. B- / B + are marked on the board, a battery is connected to them. OUT + / OUT-, the load is connected to them.

Mounted charge controller in the sole. We cut a window under the connector and file the board, the main thing is not to damage the tracks. The board is glued to double-sided tape, for reliability, you can also fix it with thermo glue.

Since the speakers supplied mains power directly to the transformer, and from it to the diode bridge, this part will be redone. Solder all the diodes, 4 pieces.

Power from the battery, more precisely from the charge controller board, is soldered to the plus and minus of the diode bridge. Also, the power plus will be switched by the speaker switch.

Pre-solder our circuit with a canopy on the wires and check for operability.

Flat batteries are fixed with a simple brace made of copper wire with an insulating tube put on it.
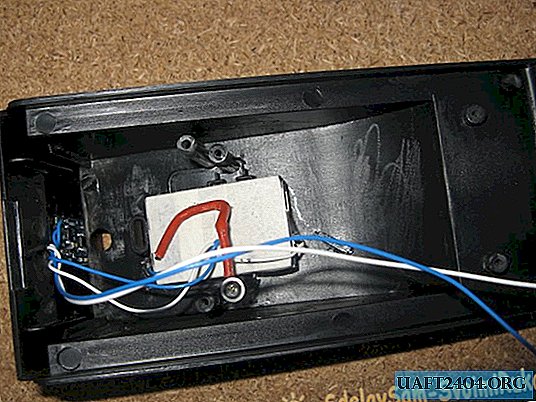
To control the process of charging the batteries, we make a hole in the sole opposite the LED display of the charge controller and fill it with hot glue. We cut off the excess glue. We twist the speakers and connect the charger. Charges from any charger from a smartphone, tablet and micro USB output. Indication is visible perfectly.

So, and with almost no effort, we finalized the computer speakers with network power for portable speakers. Later I will add more batteries to increase battery capacity.

Share
Pin
Tweet
Send
Share
Send

