Share
Pin
Tweet
Send
Share
Send
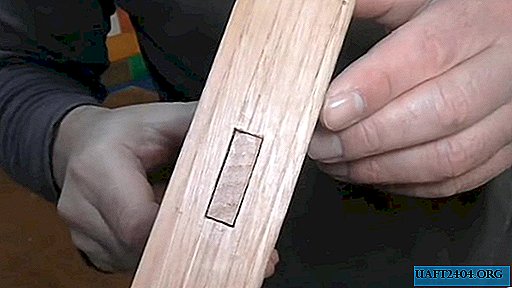
For durability and long service life of wood products, such as chairs, tables, cabinets, shelves and others, spikes are used as fasteners that securely connect the bars to each other through openings called nests. Making nests for spikes in wooden products requires special equipment and knowledge of the rules for working with wood. Typically, the tool is a chisel. But we will consider a simpler and more affordable way to cut the nest using a drilling machine.
We need to have at hand:
- Bars of the required thickness. In my case, this is a 50 mm length of about 30 cm.
- A bar with an already prepared spike. On it we will prepare a hole.
- Drilling mill vertical type.
- Ruler and pen for measuring
- Knife or sharpening to remove excess wood.
Getting to work

Before proceeding to drilling, we measure the necessary distance and approximately the depth of the nest.


To do this, we will use the already prepared spike, which we apply to the bar and mark the edges, width and depth of the product.


Depending on the width of the spike, we put on a drill of the desired diameter of 8/10/12 mm on the machine, no less. We start drilling from the boundaries, leaving small jumpers between the holes.


It’s impossible to drill everything right away. At the beginning, we go deeper by 1-2 cm, after making the holes we introduce a drill a couple of centimeters deeper, capturing the jumpers.

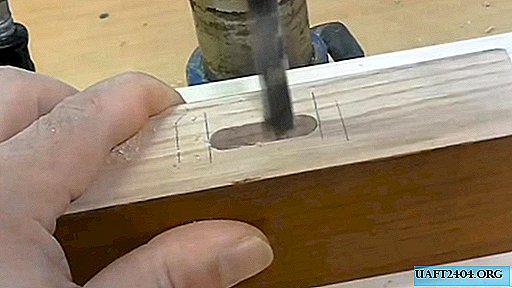

We do these steps to the desired size and to achieve the marked depth. Check if the spike fits into the socket. If the nest is too large, then fixing the spike in it will fail.
In our case, the hole must be completed using a sharpener or a special tool for cutting wood - chisels. We remove the corners and protrusions and reposition the spike. This time the hole turned out to be the right size and the bars are connected perpendicular to each other.


The advantages of this method:
- You can take a tree of any breed and strength: pine, birch, oak, etc.
- Thanks to the vertical arrangement, the depth and angle of the socket can be adjusted without problems.
- You can work with both small and large types of wood products.
The only inconvenience of the method is the difficulty of following the boundaries of the future nest. To do this, it is necessary to mark with a pencil a section smaller than what is required in the end.
Share
Pin
Tweet
Send
Share
Send

