Share
Pin
Tweet
Send
Share
Send
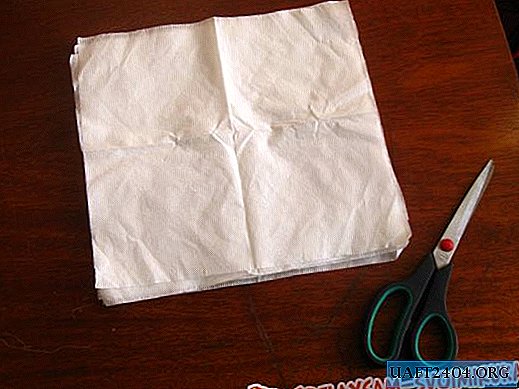
We lay them out on the table - you can stack them and cut into 4 parts. This is the basis of our flatbread.

Now we take one such piece of napkin, spread it on the table

Next, we take a skewer skewer and wind the edge of our napkin on it. Do not twist very tightly, otherwise the next step will be difficult.

We continue to circle about a little more than half of the napkin.

Now, from each edge, we squeeze a tissue-tube to the middle of the skewer like an accordion - we get a corrugated edge.

We get into such petals of our future rose. We need nine for one flower.

To form a flower, we make a bulky -buton from scraps of napkins, we fit them with one napkin. We cut off the excess.

We start threading the petals.

Now we are preparing the basis for the tree.
To start, we will prepare everything you need.

In a small flower pot, we put plasticine to make the base heavier. We install a stick in plasticine - it is possible from a tree (about 25 cm). Paint the wand with acrylic paint of the color of bronze.

We attach a ball to this base. The ball is wound from the newspaper and covered with corrugated paper.


We have ready the base of the tree and the preparation of roses. We proceed to the assembly of the topiary.

We attach roses to our ball starting from the top. Tight to each other with hot glue.

We continue to paste over ...

Here our work is almost finished - add leaves of green paper or satin ribbons. We make double loops of ribbons 10 cm long and also attach them between the flowers with hot glue.

To complete, we attach mother-of-pearl beads to roses.

And on a tree trunk we tie a nice golden bow.

Our wonderful ball-tree, or topiary, is done. It brings happiness !!!

Share
Pin
Tweet
Send
Share
Send